Building Your Own Props
Teeter-totter, Box Pedestal and Pedestal
by Paul Dufresne
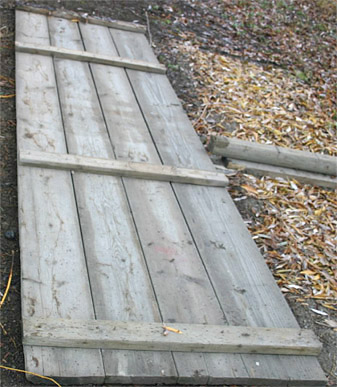
Teeter-totter:
A) 4 pieces – (12-14 foot long) foot 2”x 10” or 3 pcs. 2”x 12” planks (fir is best)
B) 16 feet of 1’X6” or 2”x 4” cleats you cut to go width-wise to hold the planks together. (You can glue these as well if you have no need to take it apart to move it.)
C) 4” x 4” or/and 4” x 6” fulcrums four feet in length. As your horse gets better you could raise the fulcrum by sliding a 2”x6” or 2”x 8” under your original fulcrum.
.
D) 60 pieces, 2” decking screws (the type that doesn’t rust).
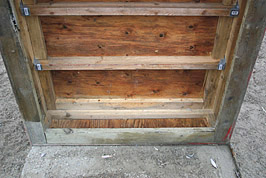
Underside of the teeter-totter
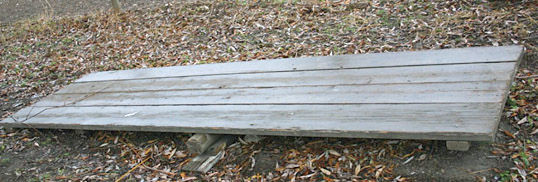
Fulcrum in place under the center of the teeter-totter
One foot high Box Pedestal:
A) One 4’x8’ 3/4'” fir flooring plywood (cheaper than buying a regular plywood, good quality but you loose a ½” on the sheet).
-cut groove and tongue off plywood, then cut the sheet in half. The first half will be your top, then cut the second one into 4 roughly 1’x 4’ foot pieces ( I say roughly as you lost a bit of length in the sheet by cutting the tongue and groove off).
B) You need 1”x4”- 16 feet for the bottom (use treated lumber so it doesn’t rot) and 48 feet of regular 2x4 for the rest of the framing.
C) 4 -2x 4 metal joist hangers
D) Box full of 2” decking screws (plywood should be screwed every 6” atleast)
E) Tube(s) of PL 200 or 400 floor glue (glue every piece of wood together).
All top edges of the finished box should be routered or sanded round so they don’t cut into a horse’s leg if they come off the box.
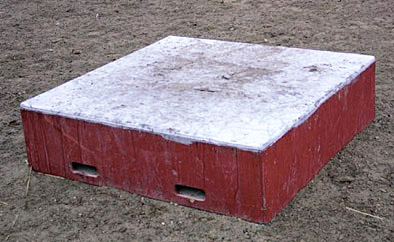
Top of Box
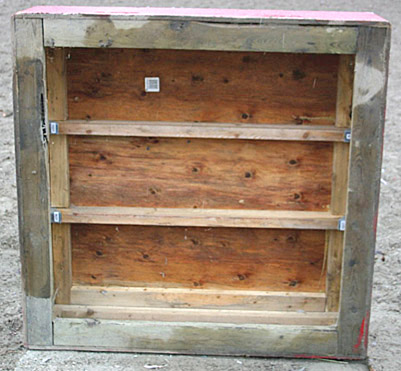
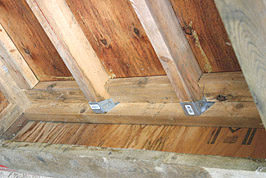
Underside of Box
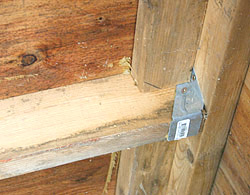
Joist Detail
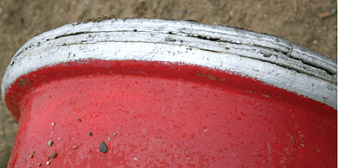
Wheel Rim Pedestal:
1) Biggest rim you can find (semi truck, aluminum is even better if you can find them)
2) 1” or 2 ply ¾” fir plywood cut to match the top of the rim (when using a 2 ply, glue the pieces together first before installing onto rim).
3) Self-tapping metal screws, screw plywood into lip of rim.
4) You can glue it to the top of the rim as well.
5) Block of wood to support middle of the underside if you want.
6) You could weld small metal flat plates to extend the base at the bottom to further stabilize, no sharp edges. (not in photos)

Top of Pedestal
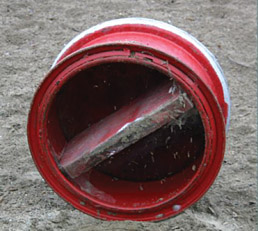
Underside of Pedestal
Detail of Pedestal Rim